
Overview
Datameer, an end-to-end big data analytics platform, is built on Apache Hadoop to perform integration, analysis, and visualization of massive volumes of both structured and unstructured data. It can be rapidly integrated with any data sources such as new and existing data sources to deliver an easy-to-use, cost-effective, and sophisticated solution for big data analytics.
It simplifies data extraction, data transformation, data loading, and real-time data retrieval. It helps to gain actionable insights from complex organizational data through data preparation and analytics. In this blog, let us discuss about importing, analyzing, and visualizing large volume of financial or bank data in Datameer.
Pre-requisite
Download and install Datameer 6.1.14 from here.
Use Case
The financial data file such as CSV, Excel, and so on is considered for importing into Datameer before starting data analysis. A workbook is created to associate with the data. A database connection is established to link the data with the database.
Importing Data into Datameer
In this section, let us discuss about importing the data into Datameer.
Uploading Files
To upload a file, perform the following steps:
- Open Datameer.
- In the left panel, click FileUploads –> Create new –> File upload to upload a file into Datameer as shown in the below diagram:

- Click Browse and upload the required file.
- Choose File Type and click Next.
- Enter Data Details and Define Fields in the subsequent tabs.
- Configure the file and Save it.
Adding Data to Workbook
To add data into a workbook, right-click on the uploaded file and choose Add Data To New Workbook. The data will be added to the workbook as shown in the below diagram: 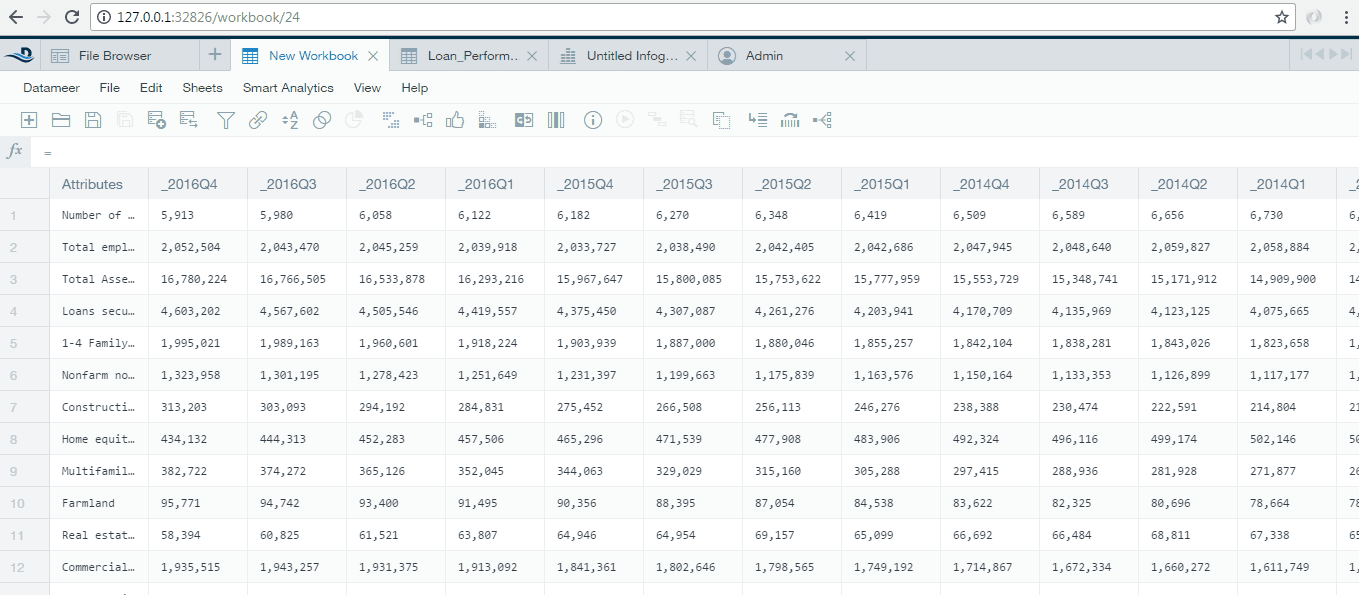
Establishing Database Connection
You can create a connection with any type of databases such as DB2, MySQL, or Oracle. To establish a database connection, add appropriate database drivers to Datameer installation.
Adding Database Connection
To add a database connection, perform the following steps:
- In the left panel, click Connections –> Connection as shown in the below diagram:
 You will be redirected to the New Connection page.
- Choose the required Type of database.
- Provide Connection Details and Save it. The newly added connection will be displayed under the Connections menu as shown in the below diagram:

Adding Jar File
To add a jar file, perform the following steps:
- Click View –> Admin Tab.
- In the left panel, click Database Drivers –> New as shown in the below diagram:

- Provide database driver details to add a new database driver.
- Click Save to save the details. The new database driver will be added and will be listed in the Database Drivers tab as shown in the below diagram:

Fetching Data from Database
To fetch data from the database, perform the following steps:
- In the left panel, click FileUploads –> Create New –> Import Job as shown in the below diagram:
 You will be redirected to the New Import Job tab.
- Choose the Connection by clicking Select Connection.
- Select the required connection and click Next.
- Provide Data Details and click Next.
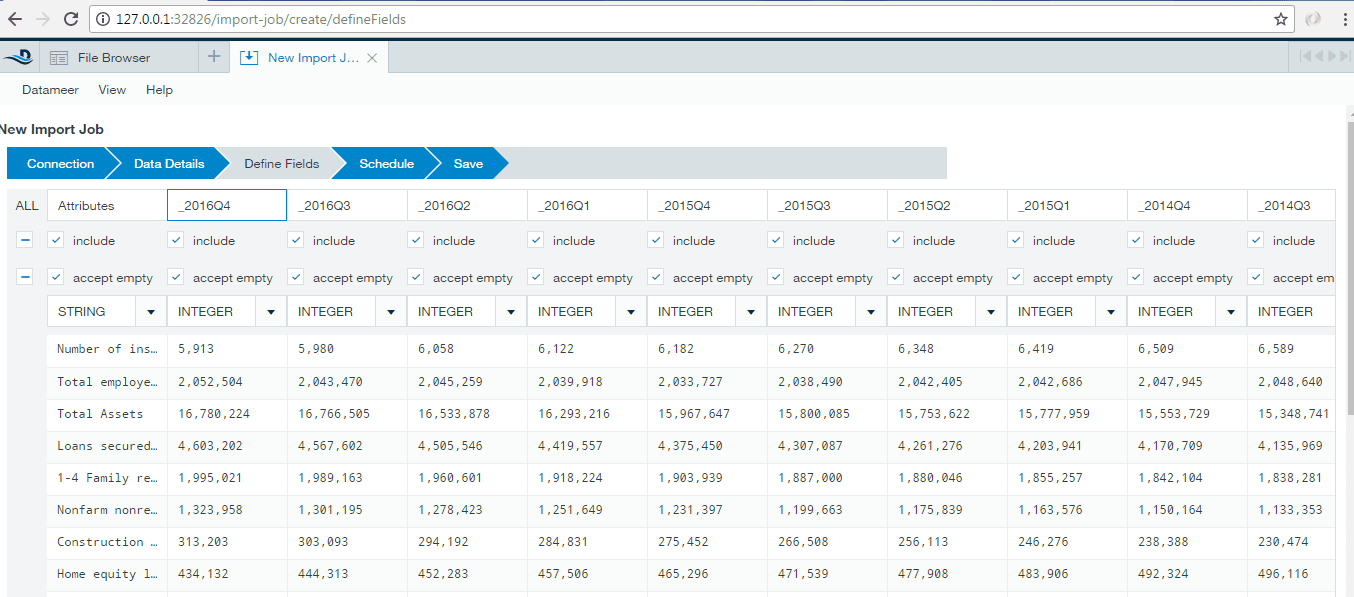
- Select the required Data Fields as shown in the below diagram:
- Click Next.
- Provide Schedule details to schedule the data import and click Next.
- Provide the required location to Save the data as shown in the below diagram:
 The file will be saved in the destination folder as shown in the below diagram:
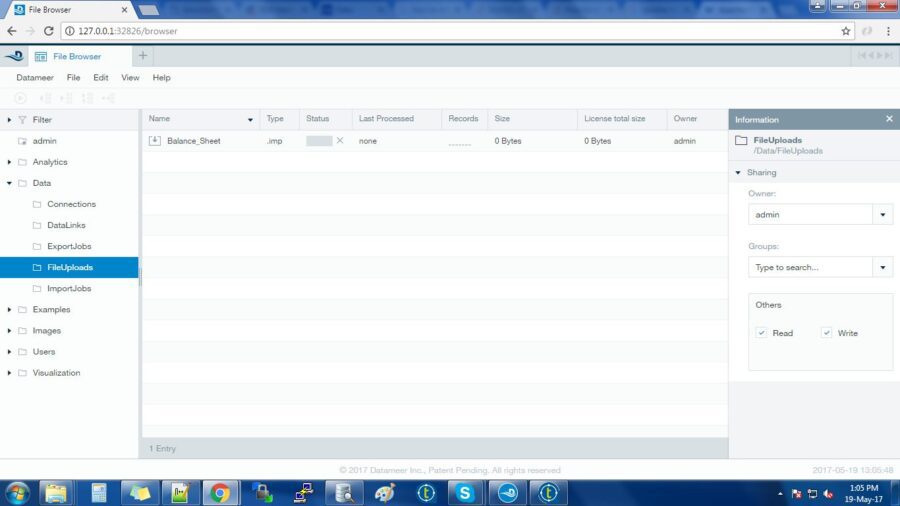
Analyzing Data in Datameer
In this section, let us discuss about analyzing the data in Datameer.
Data Description
Yearly loan data of a financial institution is used as a data source for analysis. The dataset is as follows: 
Setting up Data for Analysis
To set up the data for analysis, Datameer has provided the following four capabilities:
- Formulas
- Filtering
- Joining
- Sorting
Using the above capabilities, you can locate numbers, trends, or other information needed for analysis. In this section, let us discuss about formulas and joining capabilities in Datameer. To set up the data for analysis using formulas, perform the following steps:
- Log in to Datameer using your login credentials.
- In the left pane, click Connection –> Workbook.
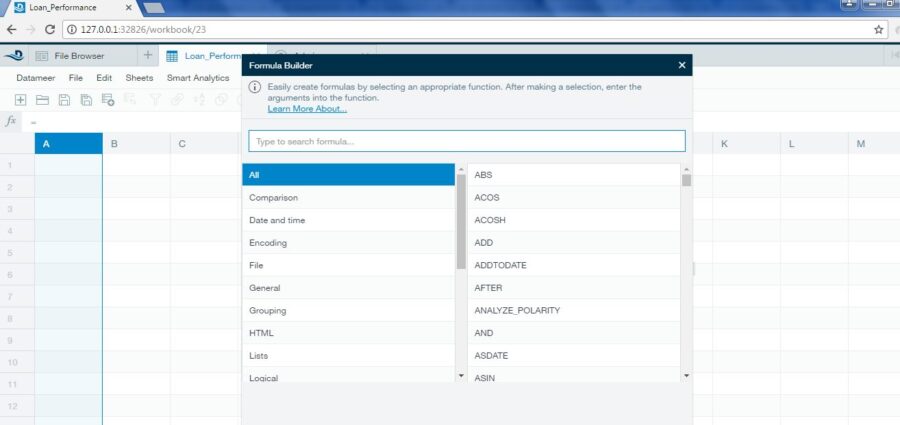
- Open the required workbook. A popup window with Formula Builder tab will be opened as shown below:
Setting up Data using Formulas
Formulas – Grouping Records with GROUPBY
This function is used to create groups of records based on the column selected. In the left pane of Formula Builder, select Grouping and choose GROUPBY in the relevant right pane to group the records in a column as shown below:  The grouped records will be displayed as shown in the below diagram:
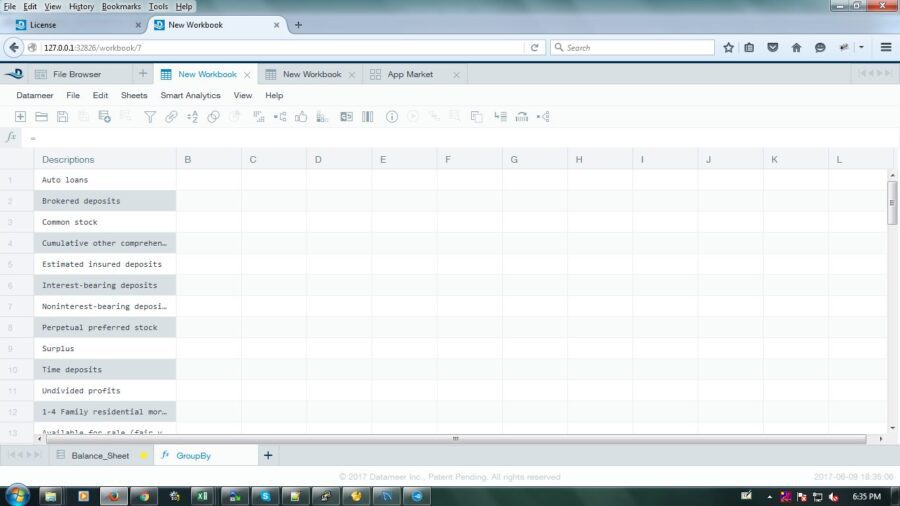
Formulas – Counting Records with GROUPCOUNT
This function is used to count the records in a group. In the left pane of Formula Builder, select Grouping and choose GROUPCOUNT in the relevant right pane to count the records in a group as shown below: 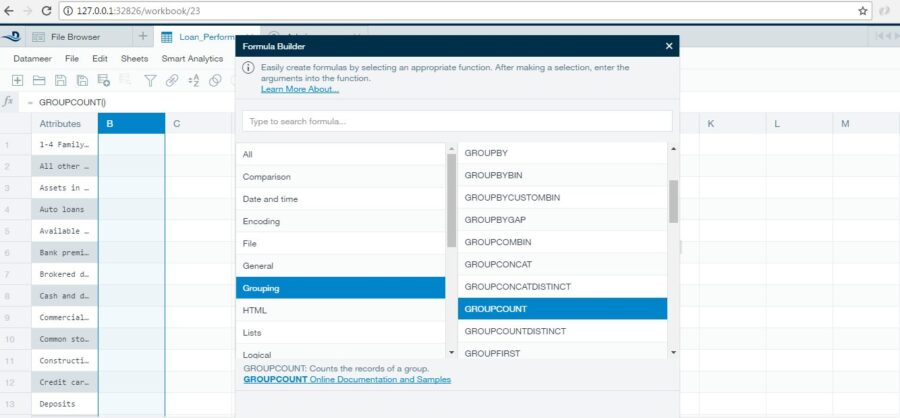
Formulas – Comparing Records with COMPARISON
This function is used to compare records in two different columns. In the left pane of Formula Builder, select Comparison and choose COMPARE in the relevant right pane to compare the records in the selected two columns as shown below:  Few comparison data types are as follows:
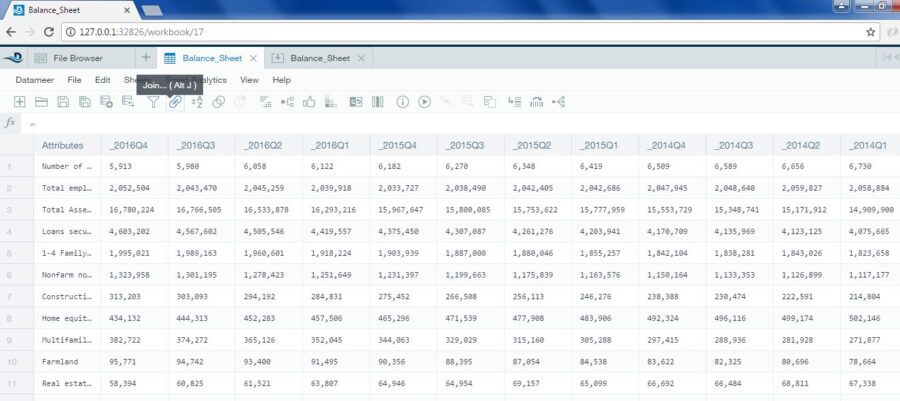
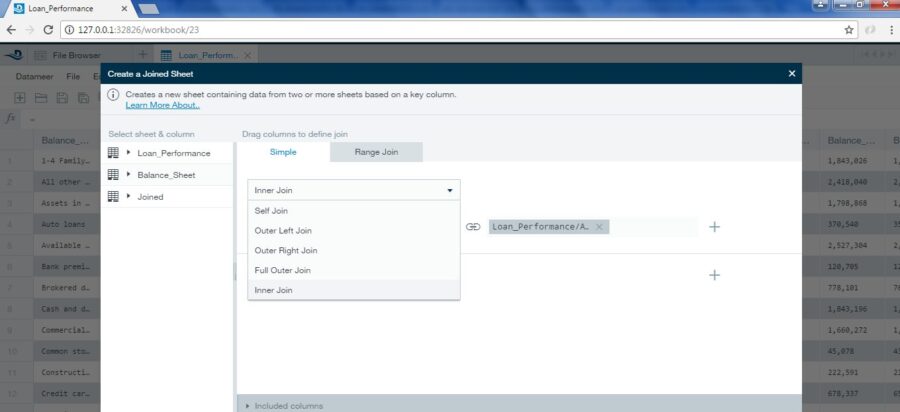
Setting up Data using Data Joins
To join data from two columns, perform the following steps:
- Open the saved workbook.
- Click Join to start joining data from two different sheets as shown below:
- Click join type to join data as shown below:
Visualizing Data
After setting up the data, visualization can be easily created in the form of graphs and charts for performing analysis. To visualize data, click Add Tab icon and choose Infographic to visualize the data as shown below: 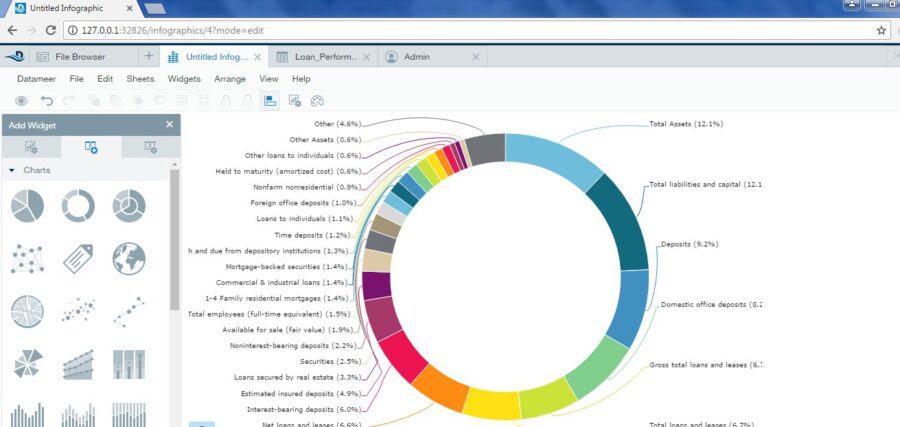